My kids walked in the door after soccer practice last Thursday absolutely starving. I had maybe 20 minutes before they turned into hangry monsters, and all I had was some leftover rotisserie chicken sitting in the fridge. That’s when I threw together these Cheesy Garlic Chicken Wraps, and suddenly I became the hero of the day. They devoured every last bite and kept asking when I’d make them again. Sometimes the best recipes happen when you’re pressed for time.
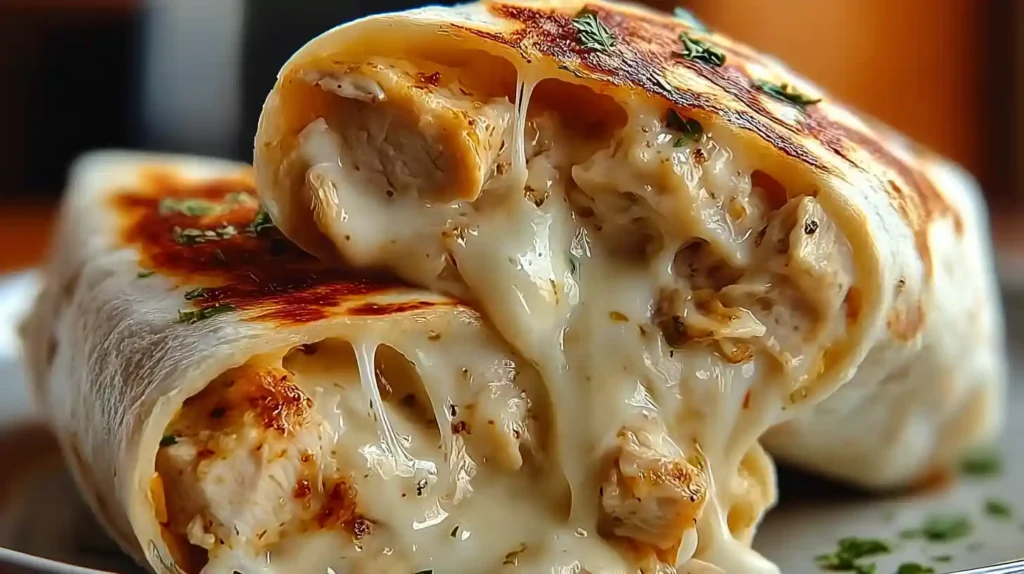
What makes these wraps work so well is how the cream cheese creates this luscious, creamy filling that holds everything together. The garlic hits you right away, but not in an overpowering way. Just enough to make things interesting. And when you cook them in the skillet until crispy? That golden exterior with the gooey cheese inside is pretty much perfection. My husband, who usually needs a full plate of food to feel satisfied, actually said one wrap was filling enough.
Why These Wraps Beat the Competition
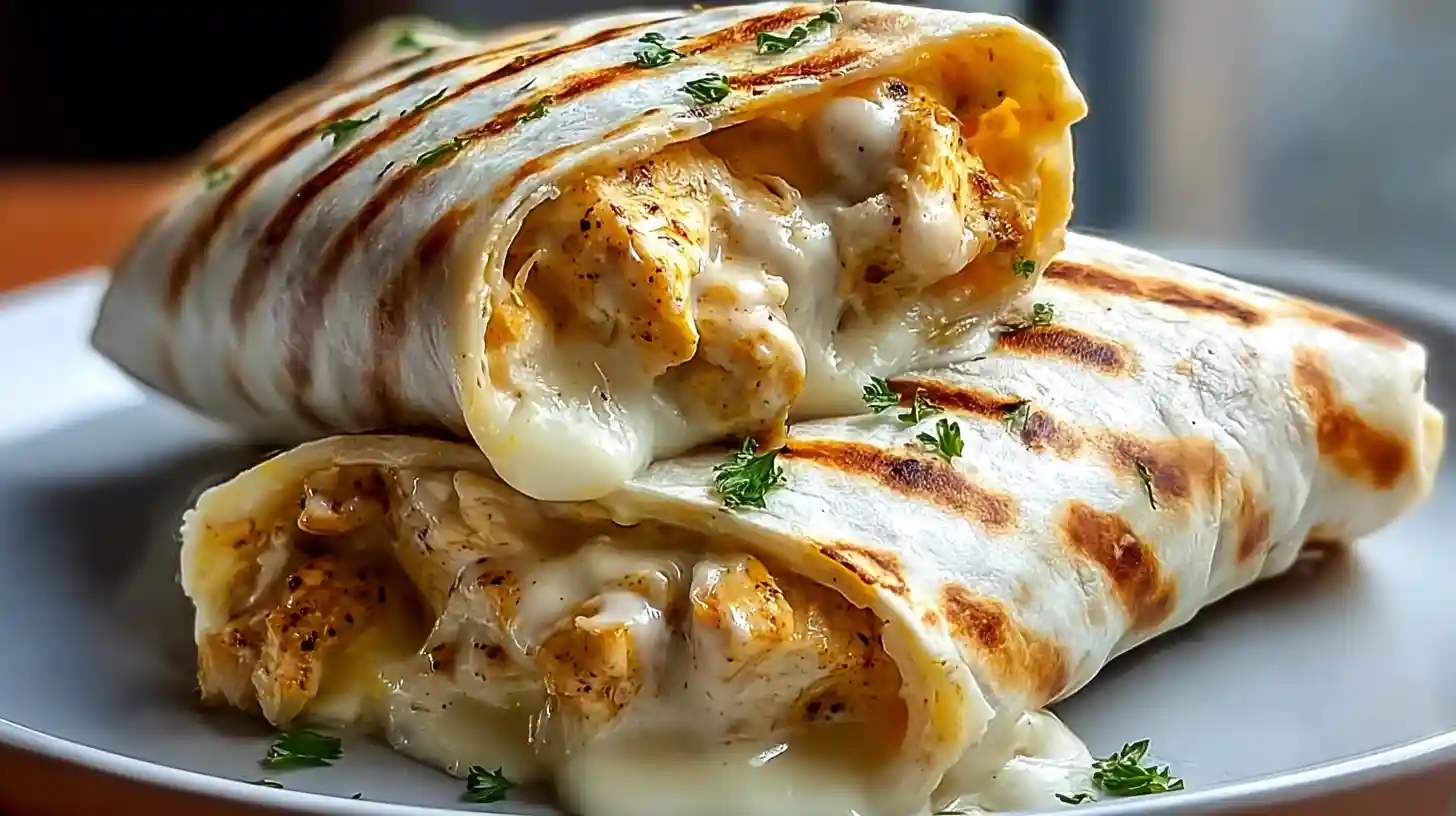
Most chicken wrap recipes are cold and boring, but these Cheesy Garlic Chicken Wraps get grilled until crispy on the outside while staying soft and cheesy inside. You’re not just rolling up ingredients and calling it done. The warmth activates all those flavors and melts the cheese into every bite. Plus, they hold together way better than your typical wrap that falls apart halfway through eating.
Using cream cheese as a base keeps the filling from being dry. Traditional wraps often have that problem where you need sauce on the side, but these stay moist on their own. The garlic powder and fresh garlic combo gives you layers of flavor without biting into a harsh chunk of raw garlic.
Ingredients for Cheesy Garlic Chicken Wraps
Gather these simple ingredients:
- 2 cups cooked chicken, shredded or diced small
- 1 and 1/2 cups shredded mozzarella cheese, or use cheddar
- 1/4 cup cream cheese, softened to room temperature
- 2 tablespoons butter
- 3 cloves fresh garlic, minced fine
- 1/4 cup sour cream
- 1 teaspoon garlic powder
- 1 teaspoon Italian seasoning
- 4 large flour tortillas
- Salt and black pepper to taste
- Fresh parsley for garnish, optional but nice
Making the Perfect Wrap
Start by melting butter in a large skillet over medium heat. Toss in your minced garlic and let it cook for about a minute. You want it fragrant but not brown or burned. That’s when garlic turns bitter and ruins everything.
Add your cooked chicken to the pan along with the garlic powder, Italian seasoning, salt, and pepper. Stir it all together and let the chicken warm through for a couple minutes. Meanwhile, mix your cream cheese, sour cream, and half of the shredded cheese in a bowl until smooth. This is easier if your cream cheese sat out for 20 minutes first.
Take the skillet off the heat and dump the chicken into your cream cheese mixture. Stir until everything combines into this creamy, garlicky filling. Now comes the assembly part.
Lay your tortillas flat and divide the chicken mixture down the center of each one. Sprinkle the remaining cheese over the top. Fold the sides in first, then roll from the bottom up, tucking as you go to keep everything tight.
Heat a clean skillet or griddle over medium heat. Place your wraps seam side down and cook for 2 to 3 minutes per side until golden and crispy. The cheese should be melted and everything heated through. Press down gently with a spatula while cooking to help seal them shut.
Pro Tips for Success
Room temperature cream cheese makes mixing so much easier. Cold cream cheese stays lumpy no matter how hard you stir. If you forgot to take it out ahead of time, microwave it for 15 seconds.
Rotisserie chicken saves tons of time and adds extra flavor. The seasoning from the rotisserie chicken enhances the whole wrap. Don’t skip pressing down while the wraps cook. This helps them seal properly and creates those crispy edges everyone loves. If your tortillas are small, use 5 or 6 instead of 4 and just divide the filling accordingly.
Delicious Variations
Add some heat by mixing in diced jalapenos or a pinch of red pepper flakes to the filling. My nephew loves these with buffalo sauce drizzled inside. Throw in some chopped spinach or sun dried tomatoes for extra vegetables and color. The spinach wilts into the warm filling perfectly.
Try different cheese combinations. Pepper jack gives you a spicy kick, while provolone keeps things mild and creamy. Monterey jack melts beautifully too. Use whole wheat or spinach tortillas for a different flavor and some added nutrition. You could even make these with low carb tortillas if that’s your thing.
Troubleshooting Common Issues
If your filling is too thick and hard to spread, add a tablespoon of milk or chicken broth to loosen it up. Too thin and runny? Mix in more shredded cheese to thicken things. Wraps falling apart while you roll them? Your tortillas might be too small or the filling is overstuffed. Use less filling per wrap.
Cheese not melting properly usually means your heat is too high and the outside is cooking faster than the inside can warm up. Lower the heat and give them more time. Cover the pan with a lid for a minute to trap heat and help melt the cheese faster.
Smart Ingredient Substitutions
No sour cream? Greek yogurt works perfectly and adds protein. Skip the cream cheese and use all Greek yogurt for a lighter version. Turkey or leftover pork work just as well as chicken in these Cheesy Garlic Chicken Wraps. Even ground beef or ground turkey would be tasty.
Out of Italian seasoning? Make your own with equal parts dried basil, oregano, and a pinch of thyme. Fresh garlic is always better, but garlic powder alone still tastes good if that’s all you have. Use about 2 teaspoons total garlic powder in that case.
Storage and Meal Prep
These Cheesy Garlic Chicken Wraps keep in the fridge for up to 3 days wrapped individually in foil or plastic wrap. Reheat them in a skillet over medium heat for the best texture. Microwaving works when you’re rushed, but they won’t be as crispy. About 45 seconds should do it.
You can prep the filling a day ahead and keep it refrigerated. Just assemble and cook the wraps when you’re ready to eat. I don’t recommend freezing these because the cream cheese and sour cream can separate when thawed, making the texture weird. Fresh is always better with these.
Frequently Asked Questions
Can I make these without cooking them in a pan?
Yes, but they won’t be as good. You can eat them cold or just microwave them, but you lose that crispy exterior that makes these wraps special. The grilling step really brings everything together.
What sides go well with Cheesy Garlic Chicken Wraps?
Simple sides work best. Chips and salsa, a basic garden salad, or some fresh fruit. These wraps are pretty filling on their own, so you don’t need anything heavy on the side.
Can I use raw chicken instead of cooked?
You need to cook the chicken completely first before mixing it into the filling. Raw chicken won’t cook through properly inside the wrap during the quick pan frying step.
How do I keep the tortillas from cracking when I roll them?
Warm the tortillas slightly first. Either microwave them for 15 seconds or heat them briefly in a dry skillet. This makes them more pliable and less likely to tear.
Are these wraps kid friendly?
Absolutely. My kids love them because the flavors are familiar and nothing is too spicy or weird. You can always reduce the garlic if your kids are sensitive to strong flavors.
Can I add bacon to these?
Cooked crumbled bacon would be amazing mixed into the filling. About 4 strips worth should do it. Everything tastes better with bacon anyway.
What’s the best way to reheat leftovers?
A skillet over medium low heat for a few minutes per side works best. This keeps them crispy instead of soggy like the microwave does.
Cheesy Garlic Chicken Wraps
Ingredients
Equipment
Method
- Melt butter in a large skillet over medium heat. Add minced garlic and sauté for 1 minute until fragrant, being careful not to burn it.
- Add cooked chicken to the skillet along with garlic powder, Italian seasoning, salt, and pepper. Stir well and heat through for 2 minutes.
- In a mixing bowl, combine softened cream cheese, sour cream, and half of the shredded cheese. Mix until smooth and creamy.
- Remove skillet from heat. Add the chicken mixture to the cream cheese mixture and stir until fully combined.
- Lay tortillas flat and divide the chicken mixture evenly down the center of each. Sprinkle remaining cheese on top.
- Fold the sides of each tortilla over the filling, then roll tightly from bottom to top to create wraps.
- Heat a clean skillet over medium heat. Place wraps seam-side down and cook for 2 to 3 minutes per side until golden brown and crispy.
- Press down gently with a spatula while cooking to seal the wraps and create crispy edges. Garnish with fresh parsley and serve warm.
Notes
- Use rotisserie chicken to save time and add extra flavor
- Make sure cream cheese is softened for easy mixing
- Press wraps down while cooking to seal them properly
- Store leftovers wrapped in foil in the refrigerator for up to 3 days
- Reheat in a skillet for best crispy texture