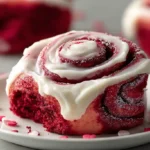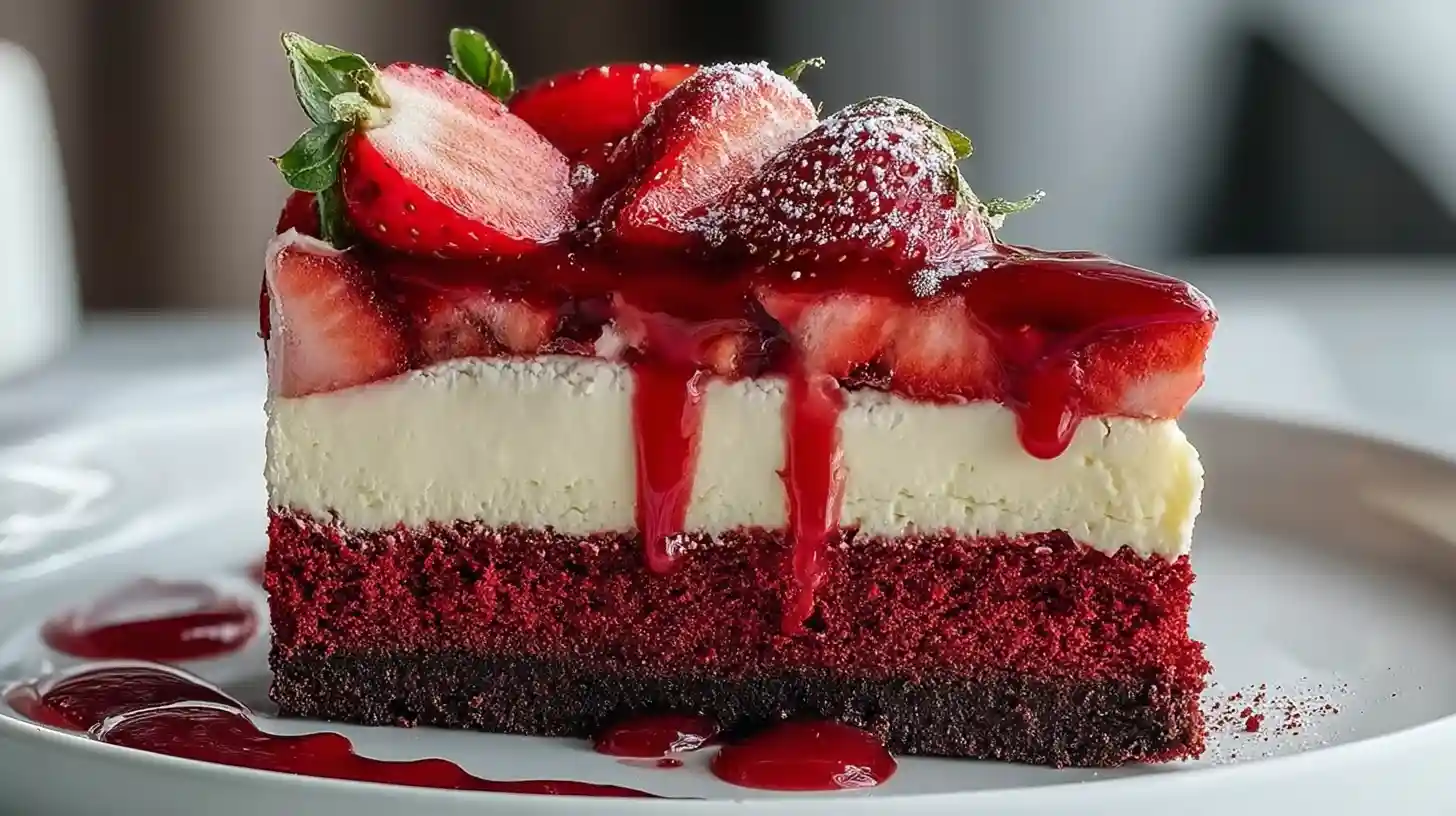
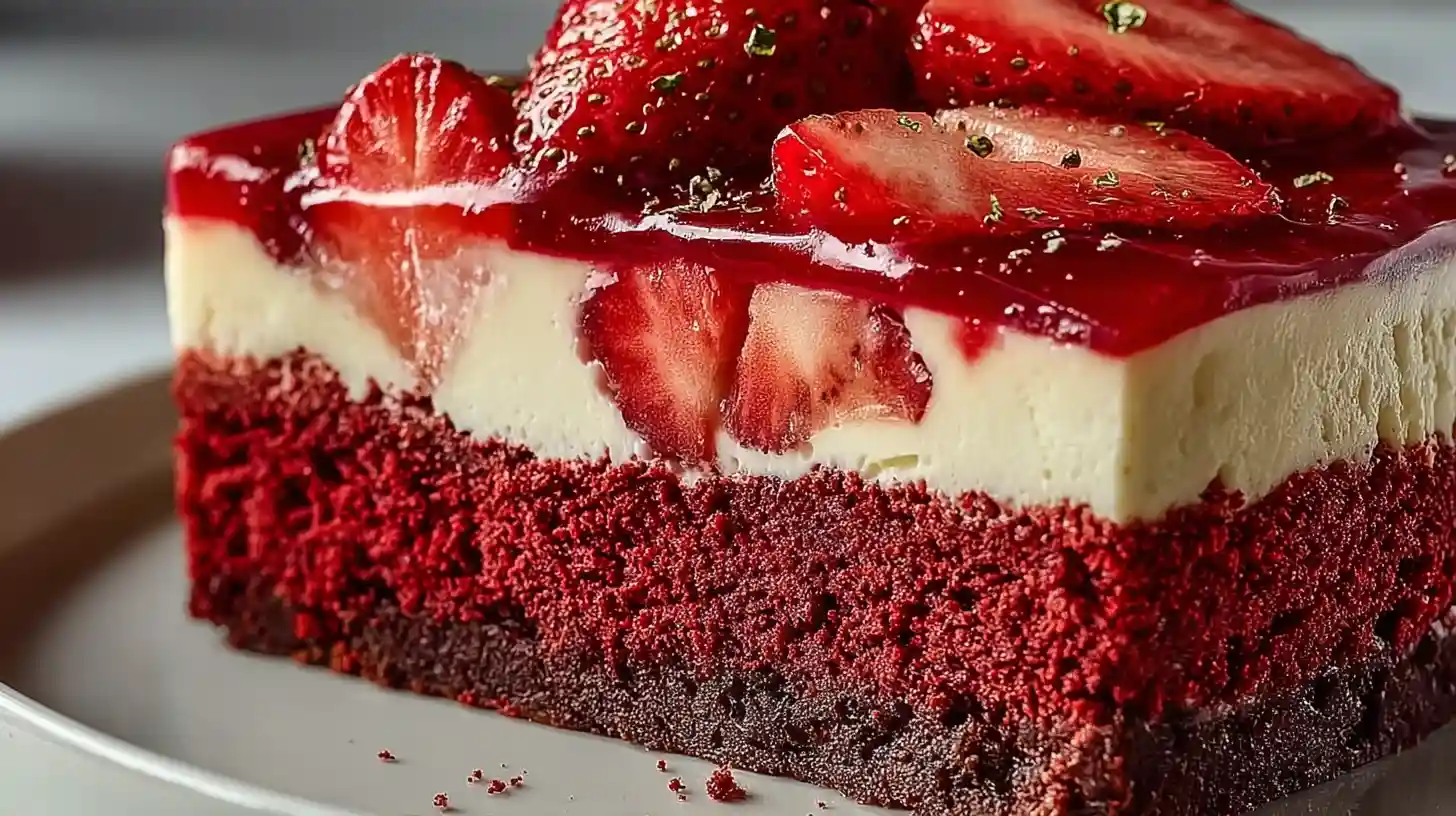
There is a special kind of magic that happens when you combine two classic desserts into one. I remember the first time I couldn’t decide between baking a cake or making a cheesecake for a family dinner. I decided to try both, and this Red Velvet Strawberry Cheesecake was the result. It gives you the best of both worlds: a sturdy, moist red velvet cake base and a fluffy, mousse-like strawberry cheesecake topping.
This recipe is a lifesaver when you need dessert cake ideas that look professional but don’t require a culinary degree. The vibrant red cake layer contrasting with the soft pink top is visually stunning. It’s perfect for Valentine’s Day, but honestly, it qualifies as one of those tasty sweets you’ll want to make just because it’s Tuesday. It travels well, slices cleanly, and brings a “wow” factor that simple sheet cakes just can’t match.
Why This Flavor Combination Works
Red velvet isn’t just chocolate cake disguised with food coloring; it has a distinct tangy flavor profile thanks to the buttermilk and vinegar. This acidity pairs perfectly with the rich cream cheese in the topping. When you introduce fresh strawberries into the mix, you get a bright, fruity element that cuts through the heaviness.
Unlike many heavy cake and pastries, this one feels surprisingly light on the palate. The cheesecake layer is no-bake, meaning it relies on whipped cream for airiness rather than dense baked eggs. It’s a texture journey—from the tender crumb of the base to the silky smoothness of the top—that makes it truly cake delicious.
Key Ingredients Breakdown
To get that bakery-quality result, the temperature of your ingredients matters just as much as the quality.
The Cake Layer
You’ll need the standard lineup: all-purpose flour, sugar, and a hint of cocoa powder. Vegetable oil ensures the cake stays moist even in the fridge, while buttermilk provides that classic tenderness. Don’t skip the vinegar; it activates the baking soda for a better rise. Use a high-quality red gel food coloring for the most intense hue.
The Cheesecake Topping
This layer needs full-fat block cream cheese (not the tub variety), powdered sugar, heavy whipping cream, and fresh strawberries. Pureeing fresh berries gives a natural flavor that extracts simply can’t mimic. It turns this into one of those fresh cake and sweets that feels indulgent yet natural.
Baking the Red Velvet Base
Preheat your oven to 350°F (175°C). Grease a 9-inch springform pan lightly. You need a springform pan so you can remove the sides later without ruining the beautiful layers.
Whisk the dry ingredients in one bowl. In another larger bowl, mix the oil, buttermilk, egg, vinegar, and red dye until smooth. Gently combine the two mixtures—don’t overmix, or the cake will be tough. Pour into the pan and bake for about 25-30 minutes until a tester comes out clean.
Here is the most critical rule: Cool the cake completely. If the cake is even slightly warm, the cheesecake topping will melt and slide right off, ruining your cake baking ideas. I usually pop the cooled cake in the fridge for 20 minutes just to be safe.

Making the Strawberry Mousse Layer
While the cake cools, puree your strawberries. For an ultra-smooth texture, press the puree through a mesh sieve to remove seeds. Beat the softened cream cheese and powdered sugar until creamy, then mix in the strawberry puree.
In a separate cold bowl, whip the heavy cream until stiff peaks form. Gently fold this whipped cream into the strawberry mixture. This folding technique is what keeps the topping light and airy, distinguishing it from dense desert cakes.
Setting and Serving Tips
Spread the filling evenly over the cooled cake base. Cover loosely with plastic wrap and refrigerate for at least 4 hours, though overnight is best. The gelatin in the cream cheese needs time to firm up again.
To serve, run a thin knife around the edge of the pan before unclasping the springform ring. This prevents the cheesecake from tearing. Slice with a hot knife (dipped in hot water and wiped dry) for those perfect, clean layers that look amazing on a cake and dessert platter.
Storage and Make-Ahead
This cake keeps beautifully in the refrigerator for up to 3 days. In fact, the flavors often meld better on day two. Keep it in an airtight cake carrier to prevent it from absorbing fridge smells.
I don’t recommend freezing the finished cake because the fresh strawberry mousse can become grainy or watery when thawed. However, you can bake the red velvet base weeks in advance and freeze it, then just make the topping the day before your event.
Variations to Try
Feel free to get creative. Swap strawberries for raspberries for a tart kick. If you love chocolate, add a layer of chocolate ganache between the cake and the mousse. You can also garnish with white chocolate curls or fresh mint leaves to make it look even more festive.
FAQ
Can I use a box mix for the cake part?
Yes, absolutely. A standard red velvet box mix works fine. Prepare it as directed, bake it in your springform pan, and adjust the time as needed. You might have leftover batter since springform pans vary in depth.
Why is my filling runny?
Runny filling usually happens if the strawberries were too watery or the whipped cream wasn’t beaten to stiff peaks. Pat your washed strawberries dry before pureeing to minimize excess liquid.
Can I make this gluten-free?
Yes. The cheesecake topping is naturally gluten-free. For the base, simply swap the all-purpose flour for a measure-for-measure gluten-free flour blend. The texture remains surprisingly similar.
Do I need gelatin for the filling?
Generally, no. The combination of full-fat cream cheese and whipped cream sets well when chilled. However, if you are serving this outdoors in hot weather, adding a teaspoon of unflavored gelatin dissolved in water to the puree can offer extra stability.
What if I don’t have a springform pan?
You can use a deep dish pie pan or a square baking dish. You won’t be able to remove the sides to reveal the layers, but you can slice and serve it like a casserole. It will still taste fantastic.
Why did my cake shrink?
Red velvet cake often shrinks slightly as it cools. This is actually helpful here! Just make sure to spread the cheesecake filling down into the gap between the cake and the pan. It creates a nice sealed edge.
Red Velvet Strawberry Cheesecake
Ingredients
Equipment
Method
- Preheat oven to 350°F (175°C) and grease a 9-inch springform pan.
- Whisk flour, sugar, and cocoa powder in a bowl.
- Mix oil, buttermilk, eggs, vinegar, and red food coloring in a separate large bowl until smooth.
- Combine wet and dry ingredients gently, pour into the pan, and bake for 25-30 minutes.
- Cool the cake completely in the pan on a wire rack.
- Puree strawberries in a blender until smooth.
- Beat softened cream cheese and powdered sugar until creamy, then mix in the puree.
- Whip heavy cream to stiff peaks in a cold bowl, then fold gently into the strawberry mixture.
- Spread filling over the cooled cake and refrigerate for at least 4 hours.
Notes
- Ensure the cake base is cold before adding topping.
- Pat strawberries dry before pureeing to avoid watery filling.
- Use gel food coloring for vibrant red color.