

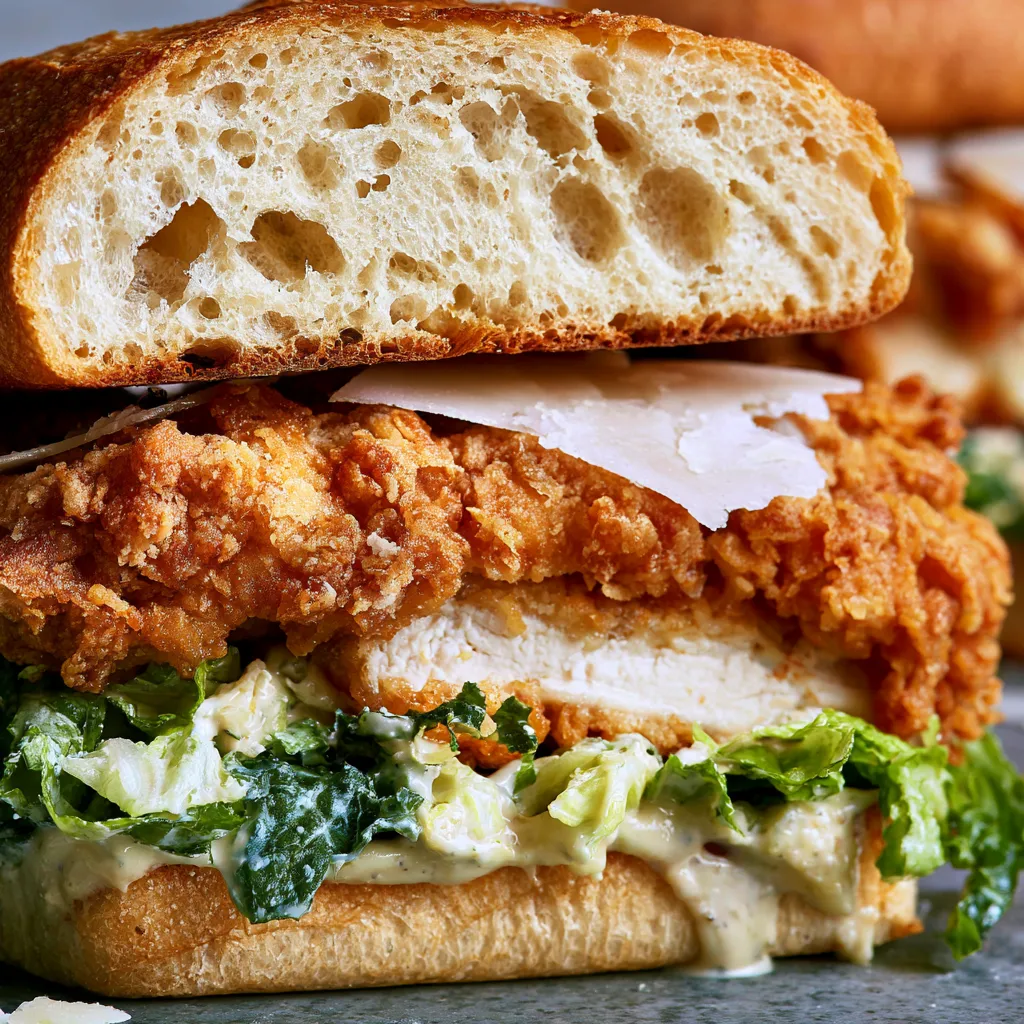
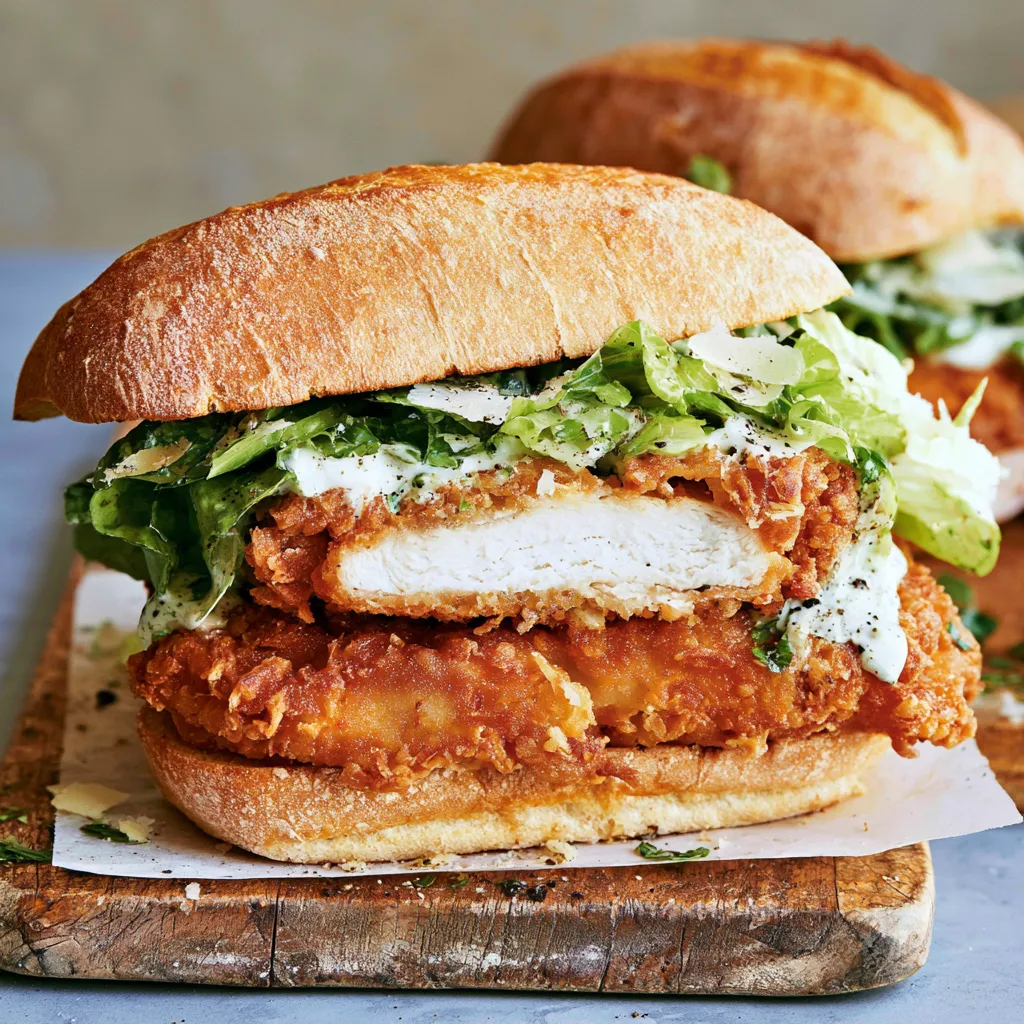
I had a random craving for something crunchy and savory the other afternoon, and that is how this Chicken Caesar Sandwich came together. It takes the classic salad and turns it into something you can actually eat with your hands, crispy buttermilk chicken tucked into a soft roll with romaine, parmesan, and a creamy caesar dressing. The chicken gets its crunch from a quick dredge and a hot skillet, no deep fryer required. From start to finish it takes about 30 minutes, most of which is just letting the chicken marinate in the buttermilk.
This is one of those sandwich recipes that feels a little indulgent without being complicated. It works well for a weekend lunch or a quick dinner when you want something more exciting than a plain sandwich.
What You Need for a Chicken Caesar Sandwich
The buttermilk soak is what keeps the chicken juicy under all that crispy coating. Do not skip it, even if you are short on time, since even 15 minutes makes a difference.
- 2 boneless, skinless chicken breasts, halved lengthwise
- 1 cup buttermilk
- 1 cup all-purpose flour
- 1 teaspoon smoked paprika
- 1/2 teaspoon garlic powder
- 1/2 teaspoon salt
- 1/4 teaspoon black pepper
- 1/4 cup vegetable oil, for frying
- 4 sandwich rolls, split
- 1 cup romaine lettuce, shredded
- 1/4 cup shaved parmesan cheese
- 1/2 cup caesar dressing
How to Make Chicken Caesar Sandwich Step by Step
Getting the coating to stick well is mostly about not rushing the dredge. Press the flour mixture into the chicken firmly so it forms a solid crust instead of flaking off in the pan.
- Place chicken breast halves in a bowl and pour buttermilk over them. Let sit for at least 15 minutes, or up to 2 hours in the fridge.
- In a shallow dish, whisk together flour, smoked paprika, garlic powder, salt, and pepper.
- Remove chicken from the buttermilk, letting excess drip off, then dredge in the flour mixture, pressing firmly to coat.
- Heat vegetable oil in a large skillet over medium heat until shimmering.
- Add the chicken and cook for 4 to 5 minutes per side, until golden brown and cooked through to an internal temperature of 165F.
- Transfer the chicken to a wire rack or paper towel lined plate to rest for 2 minutes.
- Toast the sandwich rolls lightly if desired, then spread caesar dressing on both cut sides.
- Layer shredded romaine, a piece of crispy chicken, and shaved parmesan onto each roll, then close and serve.
Pro Tips for the Crispiest Chicken
Do not crowd the skillet when frying, since that drops the oil temperature and leaves you with soggy spots instead of an even golden crust. Cook in batches if needed and let the oil come back up to temperature between rounds. A meat thermometer takes the guesswork out of doneness too, so you are not left cutting into the chicken to check.
Letting the chicken rest briefly after cooking helps the crust set a bit before it meets the bread, which keeps things from getting soggy too fast. This little detail is what separates a decent crispy chicken sandwich from a great one.
Ingredient Swaps That Still Work
No buttermilk on hand? Mix regular milk with a tablespoon of lemon juice or white vinegar and let it sit for 5 minutes before using. This does the same job of tenderizing the chicken and helping the coating stick. If you are out of romaine, chopped green leaf lettuce or even shredded cabbage works in a pinch for crunch.
Store bought caesar dressing saves time, but a homemade version with mayonnaise, lemon juice, garlic, and a bit of extra parmesan gives the sandwich a fresher flavor if you have a few extra minutes to spare.
Variations Worth Trying
Add a few slices of crispy bacon inside the sandwich for extra saltiness, or swap the regular roll for a ciabatta if you want something with more chew. A pinch of extra paprika mixed into the dressing gives it a smoky edge that pairs nicely with the crispy coating.
If you are looking for something a little different for lunch recipes during the week, try wrapping the same filling in a tortilla instead of a roll for a caesar wrap version. It travels well and holds up nicely if packed a few hours ahead.
Storage and Serving Notes
Store the cooked chicken separately from the assembled sandwich if you plan to eat it later, since the bread will go soft otherwise. Keep the chicken in an airtight container in the fridge for up to 3 days and reheat in a skillet or oven to bring back some of the crunch, since the microwave tends to leave it chewy instead of crispy.
Serve this alongside a simple side salad or a handful of chips for a filling lunch. It also works well cut in half for sharing, especially if you have made a couple of extra pieces of chicken on the side.
FAQ
Why did my chicken coating fall off during frying?
This usually happens when the chicken is not pressed firmly enough into the flour mixture, or when it is flipped too early. Let the crust set for at least a minute or two before turning it in the pan.
Can I bake the chicken instead of frying it?
Yes, bake at 200C (400F) on a wire rack for about 20 to 25 minutes, flipping halfway through. It will not be quite as crispy as the pan fried version, but it is a lighter option that still works well.
What is the best bread for this sandwich?
A soft sandwich roll or brioche bun holds up well without overpowering the crispy chicken. Ciabatta is a good option too if you want something with a bit more texture.
How long should I marinate the chicken in buttermilk?
At least 15 minutes is enough to notice a difference, but 1 to 2 hours in the fridge gives the best texture. Avoid going much longer than that since the acidity can start to break down the chicken too much.
Can I make this ahead of time for meal prep?
Cook and store the chicken separately from the bread and toppings, then assemble the sandwich fresh when ready to eat. This keeps the bread from getting soggy and the chicken crisper for longer.
Is this recipe good for kids or picky eaters?
Yes, the crispy chicken on its own is usually a hit even without the caesar dressing or lettuce. Serve the toppings on the side so everyone can build their own version of the sandwich.
Chicken Caesar Sandwich
Ingredients
Equipment
Method
- Soak chicken in buttermilk for at least 15 minutes, up to 2 hours in the fridge.
- Whisk together flour, smoked paprika, garlic powder, salt, and pepper in a shallow dish.
- Dredge chicken in the flour mixture, pressing firmly to coat.
- Heat oil in a large skillet over medium heat until shimmering.
- Cook chicken for 4 to 5 minutes per side until golden and cooked through to 165F.
- Rest chicken on a wire rack for 2 minutes.
- Spread caesar dressing on toasted rolls, then layer with romaine, chicken, and parmesan before serving.
Notes
- Do not crowd the skillet when frying to keep the coating crisp.
- Let chicken rest briefly before assembling to prevent a soggy sandwich.
- Store chicken separately from bread if saving for later.